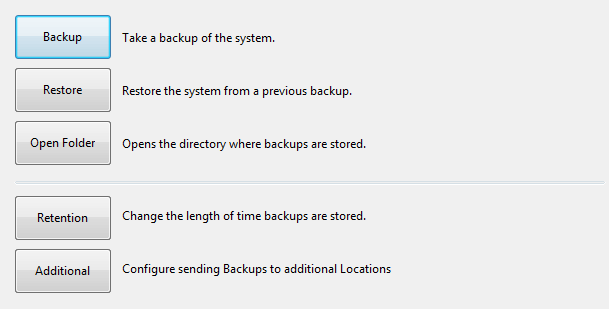
The Backup Menu contains five choices which are Backup, Restore, Open Folder, Retention and Additional.
This button will allow you to take a Backup of the system as it currently stands. When this button is selected, you will be given the default location that backup will be saved to, or you can select a location more appropriate.
The backup procedure will be performed and the file will be saved to the requested location. There will be no confirmation the procedure has completed, as it will happen quickly.
This button will allow you to Restore a Backup file from a previous state, and be used instead of the current POSServer database. You also have the option to include the log files associated with the backup file. This is generally used for error reporting and bug fixing and not necessarily required if restoring a backup for use.
Once the file has been successfully restored a confirmation window will display. Press OK to continue.
This button will open the default folder that contains the default backups that are saved automatically based on the settings entered in the Backup Frequency.
Folders are named in reverse date context and will contain all backups for that date.
This slider will allow you to select how many days the backup folders will be saved for. When POSServer backs up, it creates a file within the POSServer Backups folder. After a set amount of days, the first folder to fall out of this date range will be deleted.
This button will open another window that will allow you to add extra backup locations. Extra backups allow you to restore the POSServer backup file in the event the main POSServer location becomes unusable. Additional backups will delete the previously created backups, so there will only ever be one additional backup in the selected location.
It is important to remember that extra backups can slow the system down. A maximum of five additional backup locations are able to be configured.
Press the Add button to create additional backup locations. Select the location of the extra backup using the browse button. Idealpos recommends that this is a USB drive attached to the standard POSServer Terminal which can be easily removed and reconnected in case of issues.
Selecting a drive that is not local will result in a failed attempt.
The display window will show all Locations and Filenames for each backup.